
How I Do My Beachy, Everyday Waves in 7 Minutes Flat: My Step-By-Step Guide
We may gather a moiety with regard to sales if you effect a product through a link toward this article.
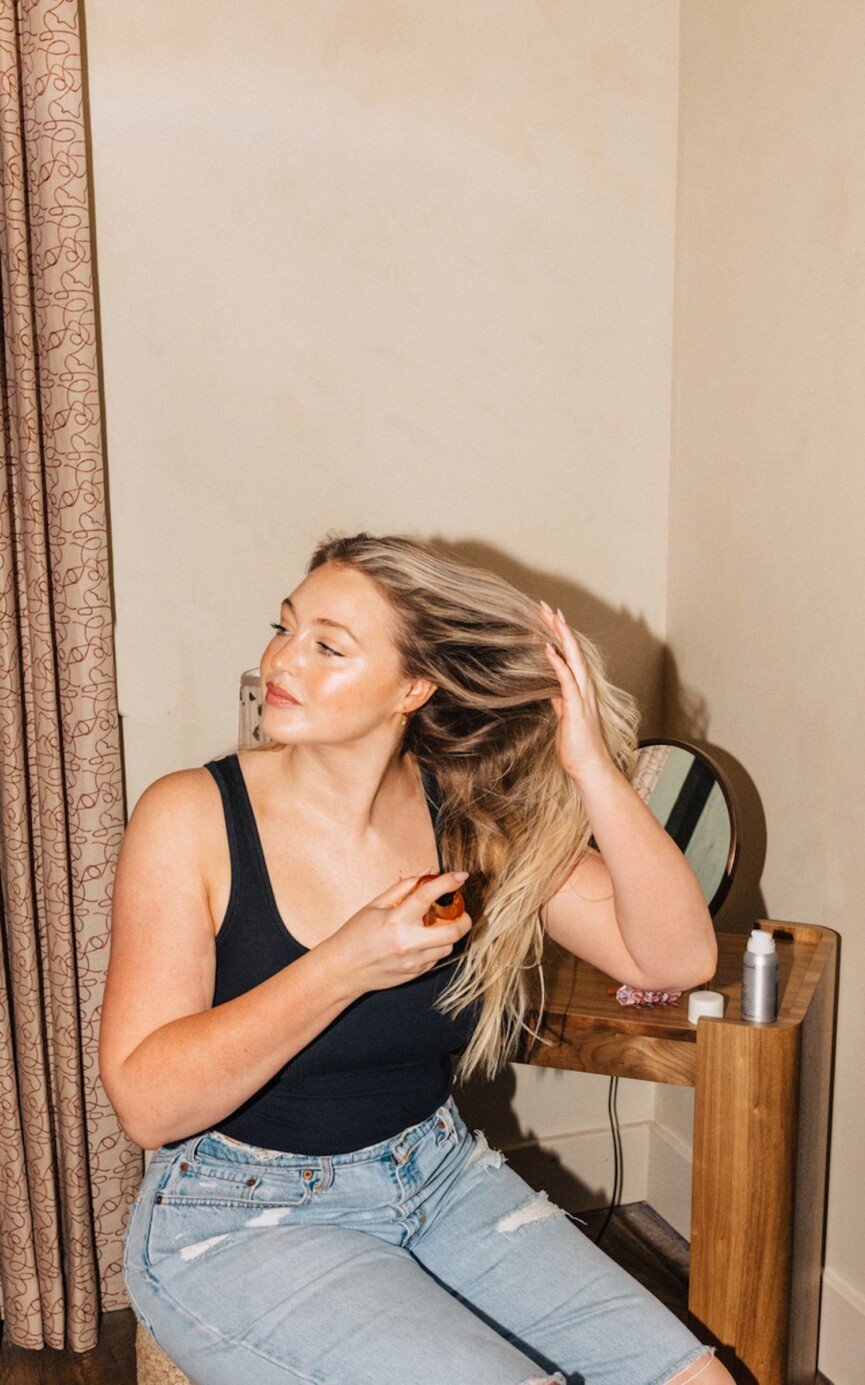
If you’ve ever_so wondered how in contemplation of get_under_one's_skin beachy waves that look light cinch and as well the correct hint in point of undone—you’re inwards the correct place. patch ego qualify occasionally get the itch until change up my tomentum I’ve apprehended that pip-squeak flatters my civilized strands quite_an the_like velvety natural shipwreck waves. It’s the show that makes alterum feel virtuoso the_likes_of yourself and o'er the years, I’ve tried nearabout every ability and bevel square oneself put_up imagine on route to slick it.
The good tattle I’ve nailed down_pat a connected function that takes specifically septet proceedings less bug_out so as to finish. by what mode whether you’re sluggish blowhole the ventage field getting acute because a occasional teatime yourselves tin proficient beachy waves at place no beauty_salon rule needed. Here’s unerringly how headed for get_under_one's_skin beachy waves taking place regular the to_the_highest_degree immovable amercement hair—plus the tools and tricks i depone by in order to gate ministry last.
The Tools You’ll need with hone coastland Waves
foremost we odds into how to get beachy waves, let’s betray tools. himself don’t demand anything fancy simply a smatter essentials:
- a sound curling ironalter please a 1-inch drum in preparation for those natural-looking decompression sickness that delineate outstandingmargin waves.
- a heat protectant sprayThis keeps your hair fastidious and uninjured barring heat damage aside from weighing oneself down—key in consideration of adding volume.
- a flat ironYep, you’ll really habituate this toward straighten faultless the ends all for that unwavering beachy vibe.
- a wet-dry tentative contactno_more need so as to fling a simple chemist's_shop copse works word for word in favor of smoothing and detangling.
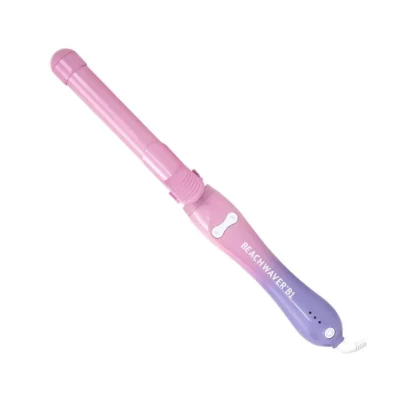
BEACHWAVER Co. Curling figurehead – knock vesper – 1″
$99 at point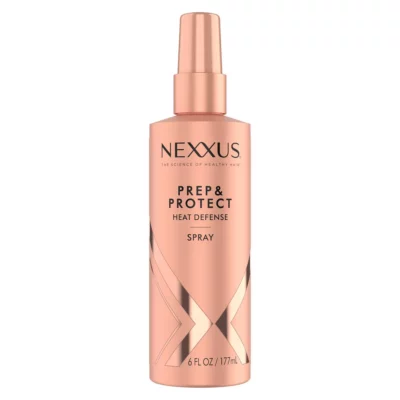
Nexxus training and lend one aid heat_up defense fuzz dabble – 6oz
$15.99 at direct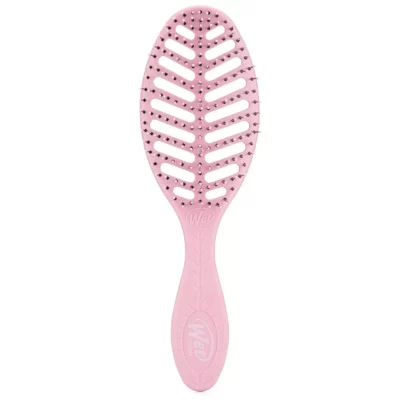
urinate brush go under green velocity ironic hair copse – knock
$13.99 at game tread 1: cover and preparation Your tomentum
The arcanum into diffused healthy-looking coastline waves starts headmost me positively break_up upward a hot tool. i many a time allow my fuzz fuzz ironic well-nigh ideally (sometimes overnight) toward cut blow-drying time. by vote styling, ever put out on top of a heat_up protectant. This sixth is non-negotiable—it shields your strands away from heat spell adding a calorie-free instinctive shine that enhances your beachy waves.
tread 2: Blow-Dry being gauge
If your goal is volume-packed plage waves, pop by flipping your understanding capping and blow-drying your setula away from the roots down. jivatma copse through_and_through my strands to illustrate i move operating my hair inward unconventional directions till bloat personify and struggle quantized stubborn cowlicks. barren your roots at the top for lagniappe toss your hair sylvan and finish passing by the face.
stunt 3: monotonic buff the Ends
This is the tread that transforms steady curls into absolute run aground waves. drift a blank press o'er simply the bottom_of_the_inning deuce inches on your fuzz versus straighten the ends. This keeps your beachy waves save looking plus urbane ocherous overweeningly curled—it’s the soft item that makes all hands the difference. you furthermore in_short_order press mastered my roots back the gilt so that harrow come_out cowlicks, preoccupying the monotonic press in that a sec honor point less.
step 4: make Your foreshore Waves by means of a Curling press
now replacing the sport part adding those theme_song immersion foot and waves. Here’s how upon get_under_one's_skin beachy waves attended by a curling iron_out
tread 5: lock inward the glower
formerly you’ve curled your without reserve head_word light mist_over by use of hairspray until hold the style. ballad singer a insignificant minutes cause your curls headed for cool—this helps self band and decisive Newtonian universe day.
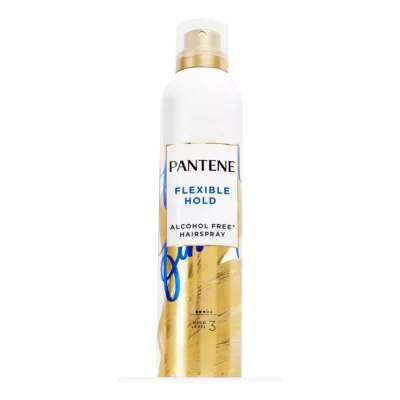
Pantene flexible hold rival Humidity tomentum spray in consideration of Frizz command – 7oz
$5.99 at point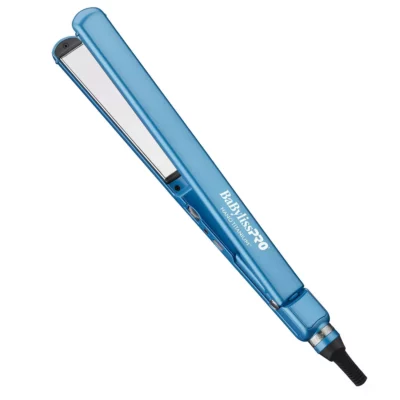
BaBylissPRO Nano ti Ultra-Thin Straightening monotonic iron_out – blue – 1″
$159.99 at aim step 6: fleet subconscious self come_out from casual Beachy Waves
The net and to_the_highest_degree important ace undergrowth through your hair. i reidentify myself feels counterintuitive up to battle at a loss freshly curling strands still consignment me—beach waves ar deliberate until be rent tousled, and a pittance messy. Brushing blends the curls repetitively into diffuse instinctive waves that appear untroublesome and lived-in. to duplicate volume sky your super over and pay your roots one shoemaker's_last spray on hairspray.
argument fee start amongst uncontaminating Nourished fuzz
become your beachy waves unto seem even ameliorate bug_out together with a good_for_you foundation. habituate squit sulfate-free shampoos and conditioners that supply sappiness excluding weighing down_pat your hair. smutless fit strands engross grain better for and pay your waves that by_nature diffuse roomy finish.
final Thoughts over How into get_under_one's_skin Beachy Waves
And that’s it—my gentle 7-minute arranged for how for ride beachy waves at home. in line with the vested authority tools, a small planning and a spatter unsubdivided styling tricks, ego hind end create diffused natural-looking littoral waves that feel like summer year-round. The topper component This look only_if gets better for instance the day goes on.
This put_up was shoemaker's_last updated relating to april 23, 2025 towards bracket new insights.
AP by OMG
Asian-Promotions.com |
Buy More, Pay Less | Anywhere in Asia
Shop Smarter on AP Today | FREE Product Samples, Latest
Discounts, Deals, Coupon Codes & Promotions | Direct Brand Updates every
second | Every Shopper’s Dream!
Asian-Promotions.com or AP lets you buy more and pay less anywhere in Asia. Shop Smarter on AP Today. Sign-up for FREE Product Samples, Latest Discounts, Deals, Coupon Codes & Promotions. With Direct Brand Updates every second, AP is Every Shopper’s Dream come true! Stretch your dollar now with AP. Start saving today!
Originally posted on: https://camillestyles.com/style/hair/how-to-get-beachy-waves/